by TRA
Is it possible
to use Pentax 6×7 lenses on the Pentacon Six?
YES!
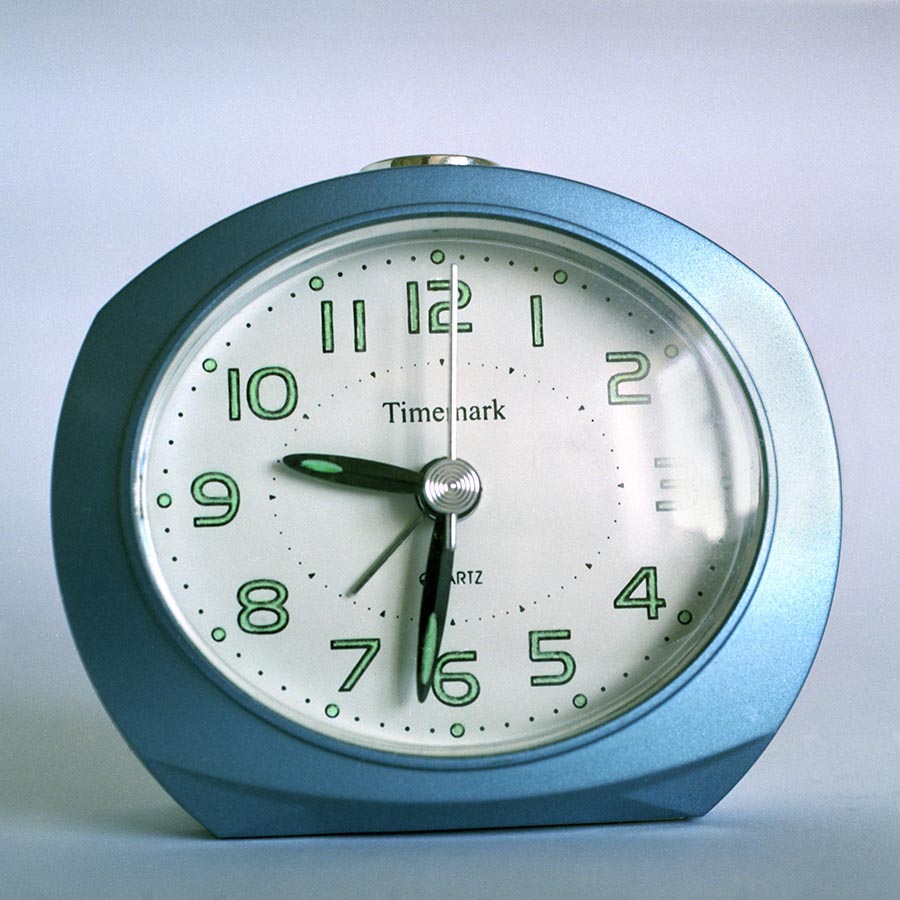
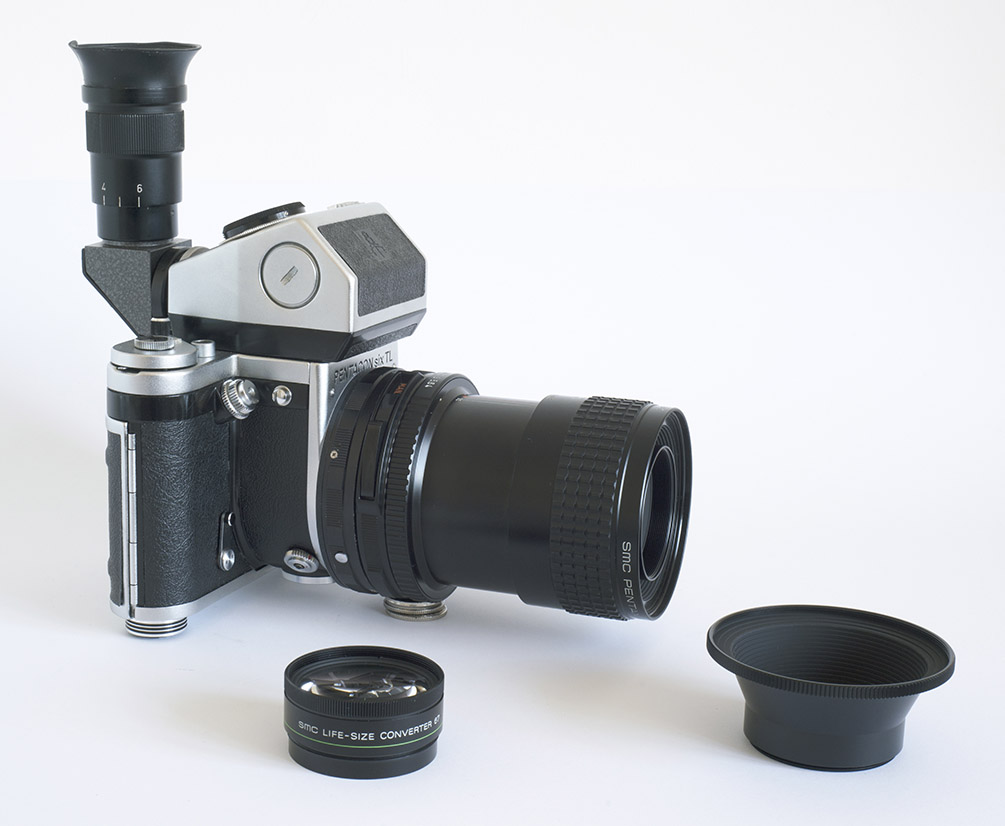
 A Pentax 67 lens
on the Pentacon Six. This is the
real thing, not a Photoshop
simulation!
[PX67_01.jpg] |
An earlier answer to this question
explained the difficulties in doing this. See here. This
page, new in November 2020, explains the solution!
I am grateful to a visitor to this website, Dominik
Samol, for telling me of the solution and for arranging
to have the appropriate adapter ring manufactured for
me. Some of his pictures are also featured below.
 [PX67_02.jpg] |
 [PX67_03.jpg] |
|
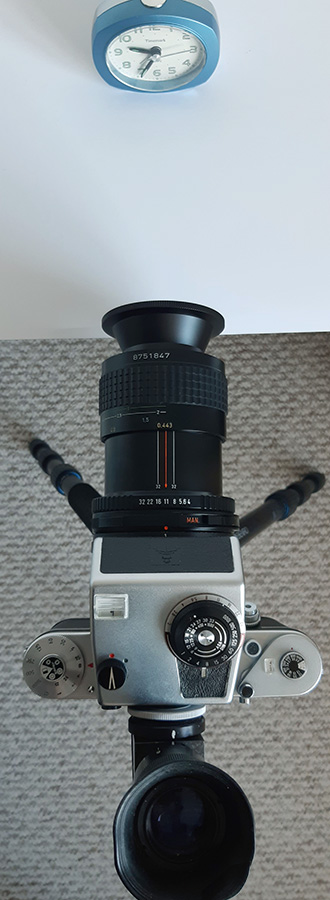
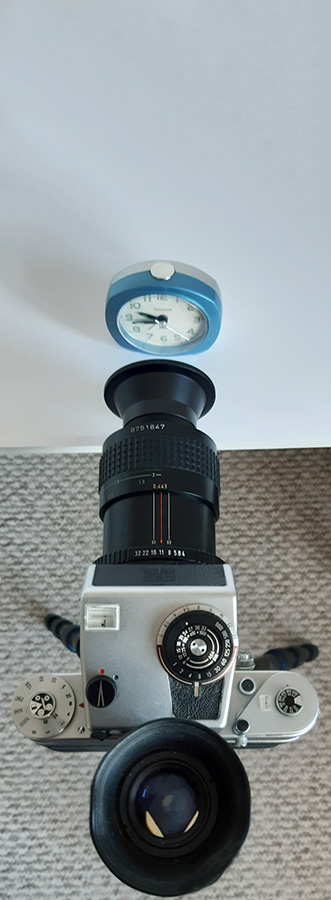
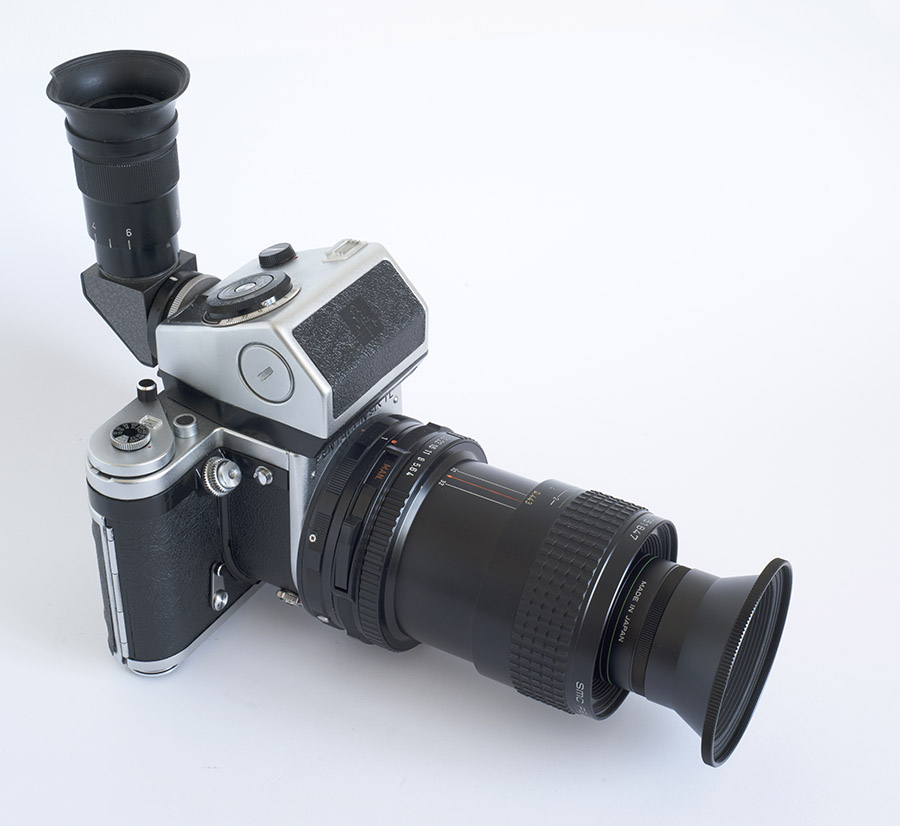
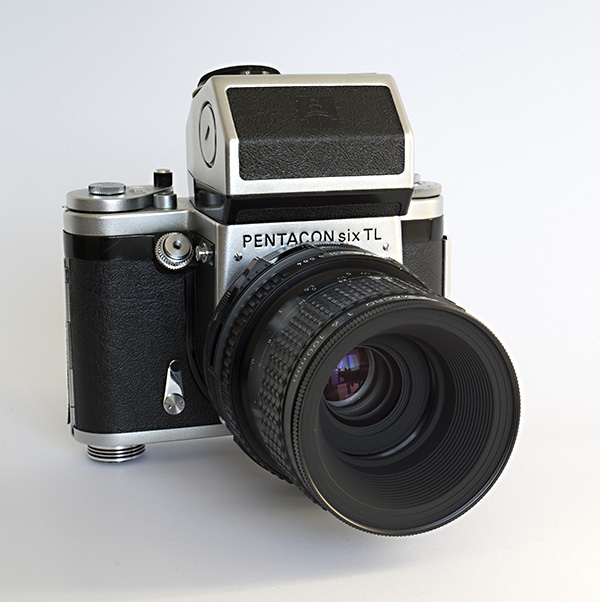
| The lens
that we have here mounted on the Pentacon Six is
the SMC PENTAX 67 MACRO 1:4 100mm lens. We
have not modified the lens, but the camera. |
||
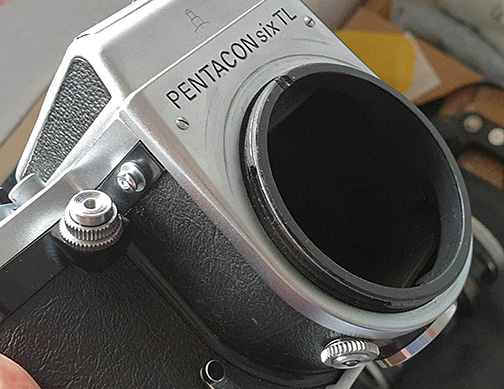
We saw on the previous Pentax 67 to Pentacon Six page, here, that the flange distance of the Pentax is 84.95 mm, and that of the Pentacon is 74.1 mm, resulting in a difference of 10.85 mm, too narrow to allow space for an adapter ring. It was also reported that there appeared to be an overlap between some components at the back of the Pentax 67 lens and other components at the front of the Pentacon Six camera throat (although I am not clear about which components these are). How can we make more space for a Pentax 67 to Pentacon Six adapter ring? If we don’t want to have to modify every Pentax 67 lens that we wish to use, the solution must be to remove something from the front of the Pentacon Six, and when we look at the camera, this turns out to be easy – and reversible!
Lenses
for the Pentacon Six are held onto the camera by a
locking ring on the front of the camera body: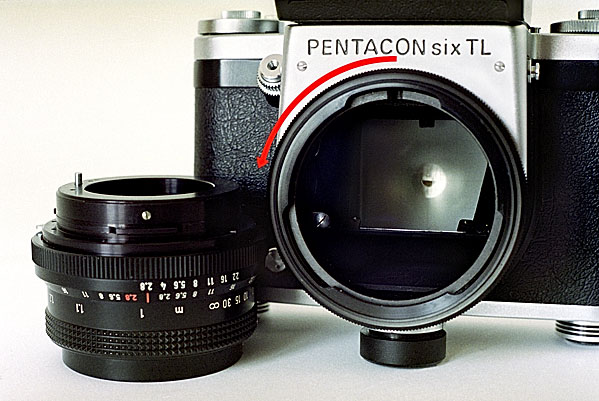 [C442_14A.jpg] The procedure for attaching and removing lenses is explained in detail here. |
|
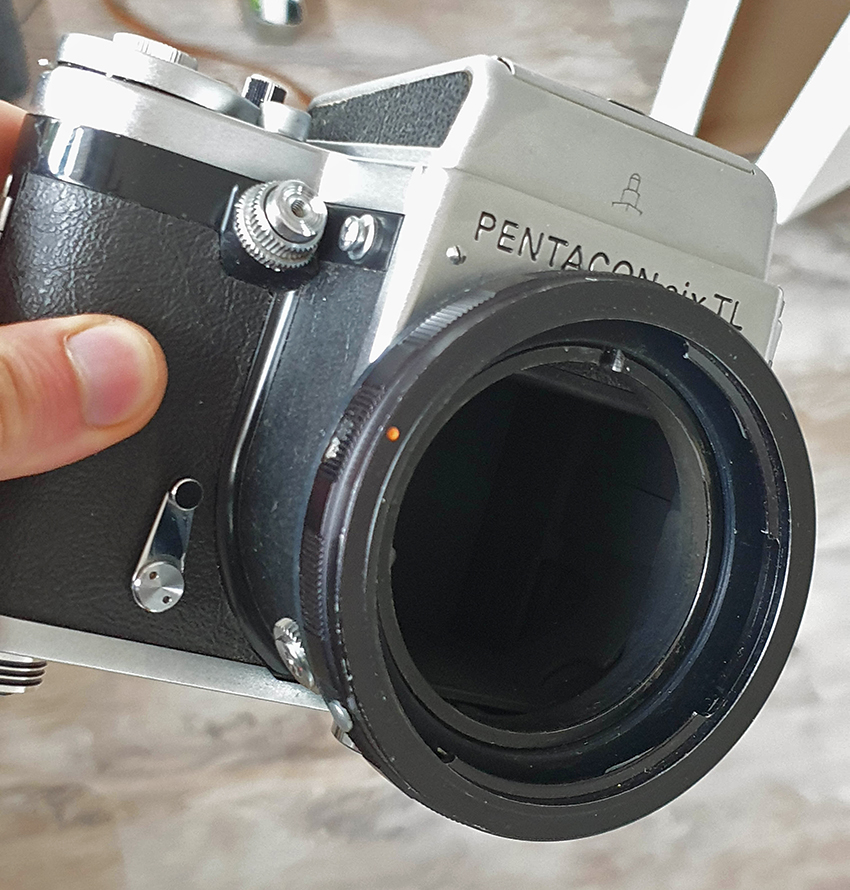
But it is not
difficult to remove this locking ring
completely – and to replace it when desired!
This ring rotates through approximately 90º.
In the photograph on the left, it is in its fully
clockwise position, when viewed from the front of
the camera, which is required to insert and remove
lenses. With the lens in place, this ring is
rotated clockwise until it holds the lens firmly
in place. The ring is mounted on a screw
thread, so as it is rotated clockwise, it moves
down onto the three tabs on the lens,
progressively holding them more and more
firmly. This is very useful with some lenses
from other manufacturers that have tabs whose
thickness does not precisely match the Carl Zeiss
Jena and Meyer-Optik Görlitz specifications. To remove this ring, one simply needs to remove the locking screw that limits its travel. With the ring in the position shown in the picture to the left, this screw is located in approximately the “7 o’clock” position.
|
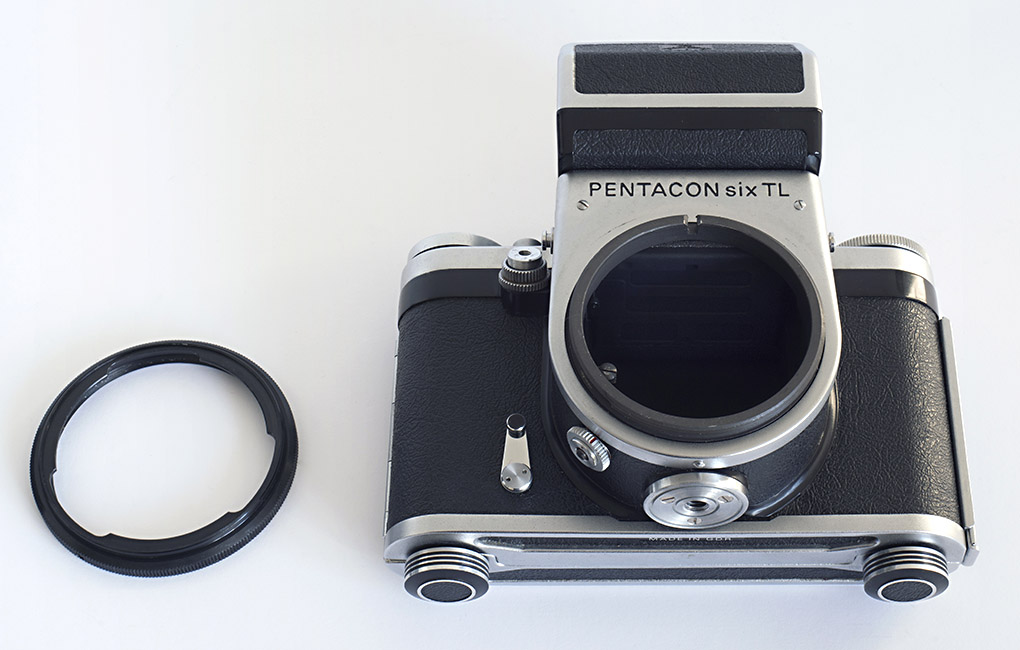 [P6ring_01.jpg] Here we can see the camera after removal of the lens locking ring, which is to the left of it in this picture. |
|
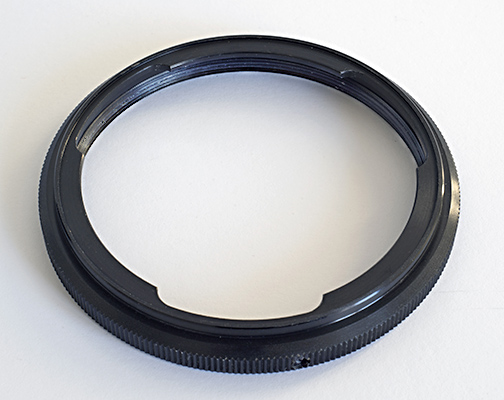
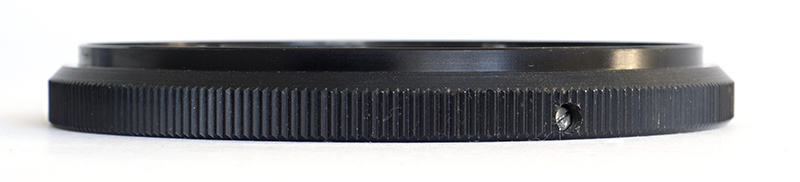
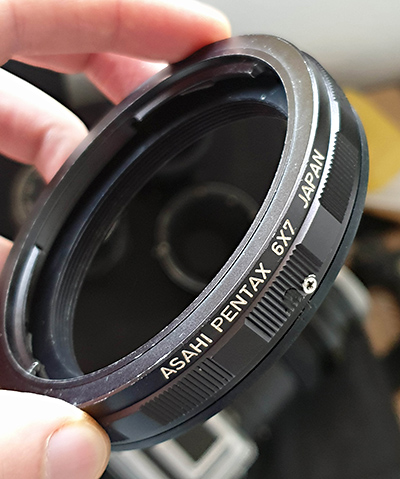
The Pentax 67 lens mount ring
There are at least two ways of making this ring.
| Modify a Pentax 67 to Pentax K (35mm
camera) lens adapter It is necessary to cut off the back of this adapter to make its thickness appropriate to allow infinity focus, and then to cut onto the inside surface of the back of the adapter the 68mm thread that is required in order to screw it onto the Pentacon Six camera. The adapter used here has the advantage that it contains both the internal Pentax 67 bayonet mount that is required for most Pentax 67 lenses and also the external Pentax 67 bayonet lugs required for the 400mm, 600mm and 1000mm Pentax 67 lenses. It seems to be hard to locate the original Pentax versions of these adapters. However, Chinese manufacturers do advertise adapters that they claim do the same job. Nevertheless, caution is required, as these manufacturers can change the specification without notifying potential purchasers, which can result in an adapter being received that is difficult or impossible to modify for the Pentacon Six. 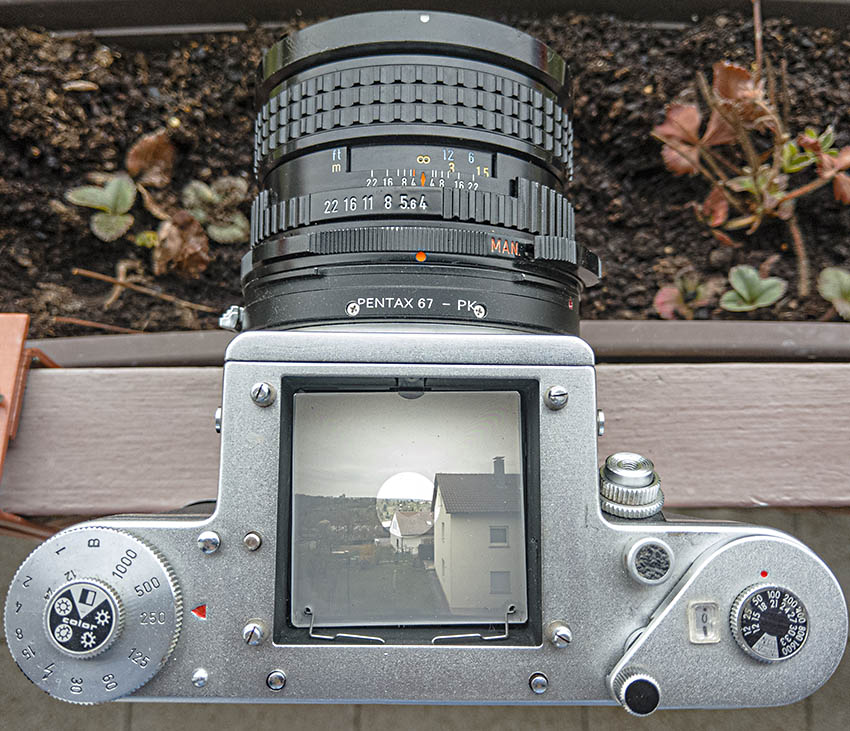 [P67_on_P6_03.jpg] The top two outer tabs for the longer Pentax 67 lenses can here be clearly seen on this adapter ring. The lens here is the 45mm Pentax 6×7 lens, which, along with the Pentax 90mm lens, is the smallest in the system. 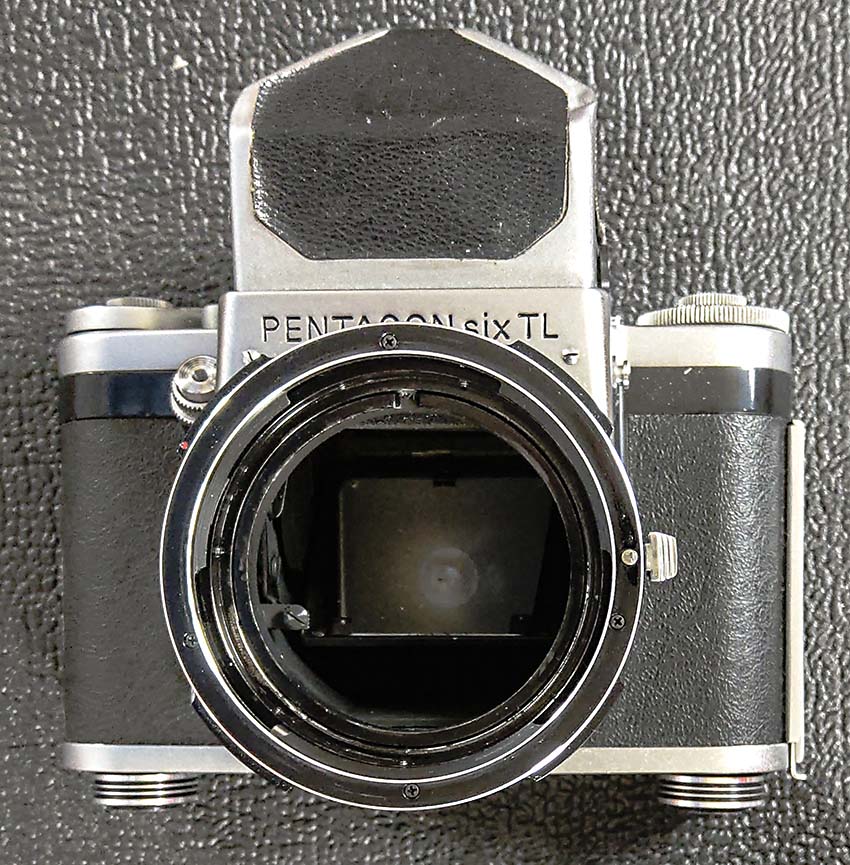 [P67_P6_04.jpg] Front view of the modified P67-PK adapter on a Pentacon six. Both the inner tabs for most Pentax 67 lenses and the outer tabs for the longest lenses can be seen. Above two pictures courtesy of Dominik Samol |
Modify a Pentax 67 extension tube Again, the same skills are required as for the previous modification, which includes access to a suitable lathe and a thread-cutting tool, plus the necessary required dimensions. The one disadvantage is that on the Pentax 67 extension tube used for the adapter ring that I now have, only the internal Pentax 67 bayonet mount is present; the external bayonet lugs for the 400mm, 600mm and 1000mm Pentax 67 lenses are not there, so one has to be content not to have the option of using these longer lenses.
Above two pictures courtesy of Dominik Samol |
||||||||||
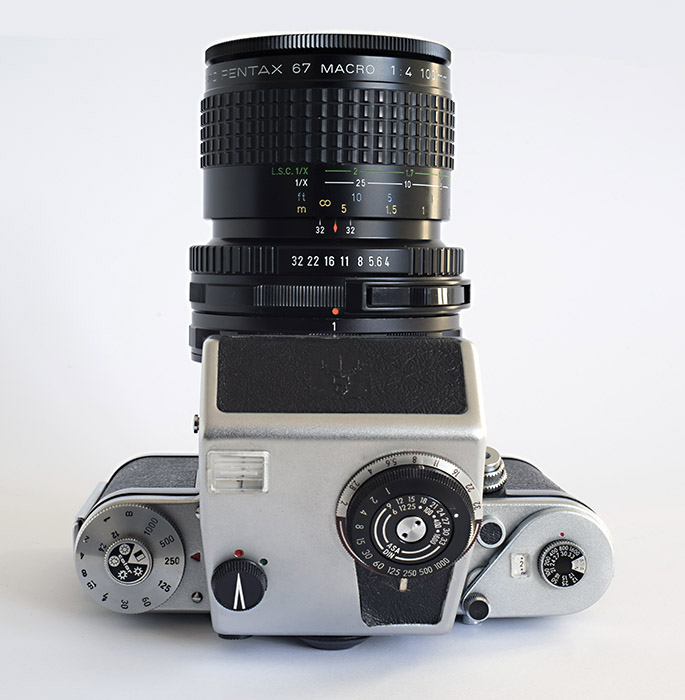
Using Pentax 67 lenses on the Pentacon Six
I bought just one lens to test this adaption on, the SMC PENTAX 67 MACRO 1:4 100mm lens illustrated at the top of this page. The first thing that struck me when it arrived was how big and heavy the lenses for the Pentax 67 are! I chose this particular lens because reports on it are extremely positive and the focal length means that it could also be used for some general photography – always assuming that infinity focus is possible with this adapter! It is, after all, relatively easy for a skilled technician to adapt almost any lens for the Pentacon Six, for use on bellows or extension tubes for close-up work. The challenge is to obtain infinity focus in the small amount of space available for the adapter.
Here are my first two test shots:
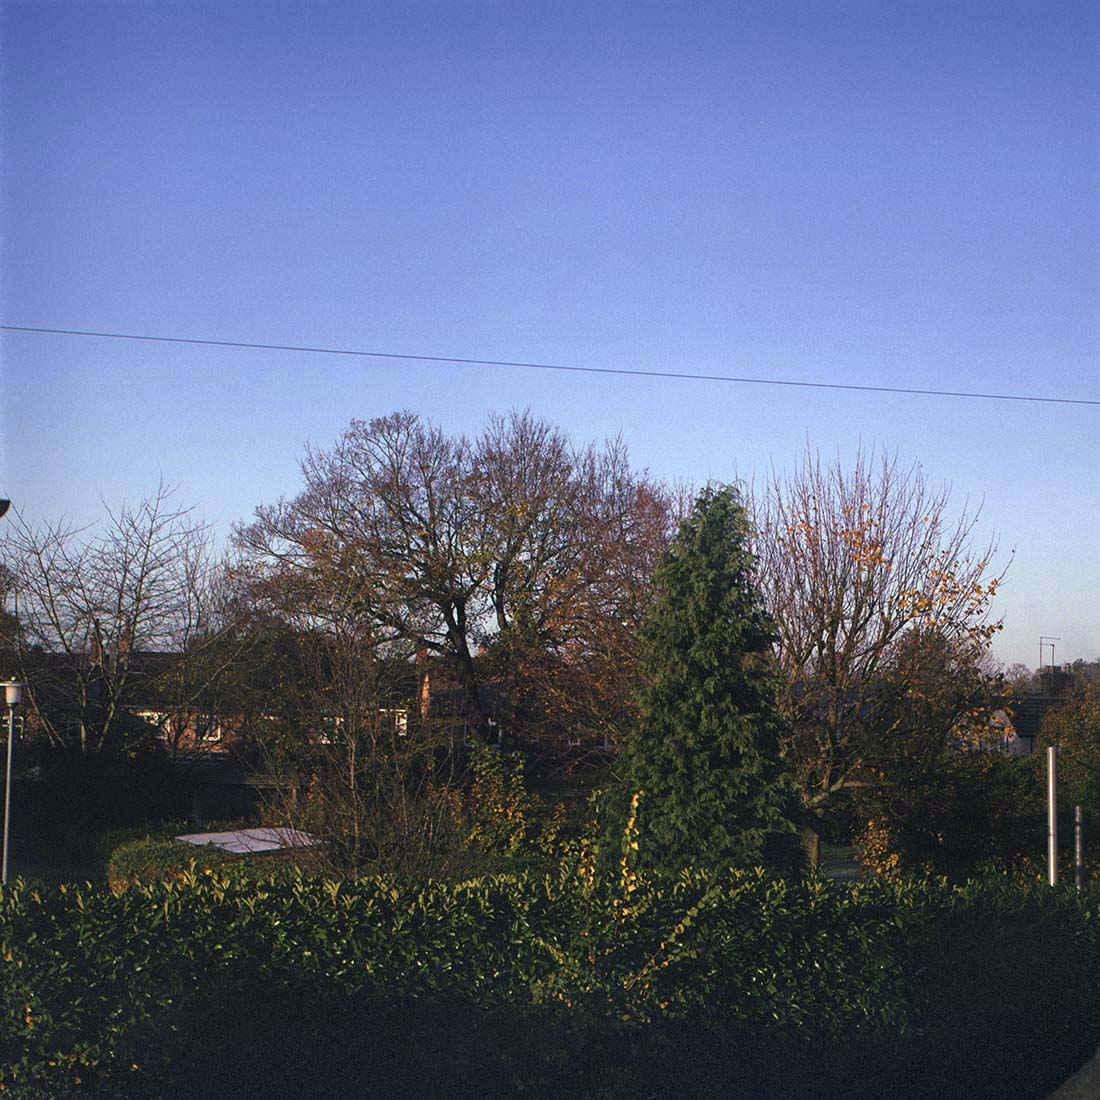 [C580_01_Px67_infin.jpg] This is not an
exciting composition, but it was the best
infinity-focus shot available under Covid-19
restrictions, a view through an open window in
my home. It is early November and about
8.00 a.m., so the shadows are long, but the
large area of open sky enables me to check for
any light fall-off away from the centre of the
frame.
Fujifilm
PRO400H Pentax 67 100 Macro lens at infinity
focus on a Pentacon Six 1/250 f/16 Hand-held
As is to be expected when using a lens designed for a “6×7” camera on a “6×6” camera, coverage is faultless. |
|
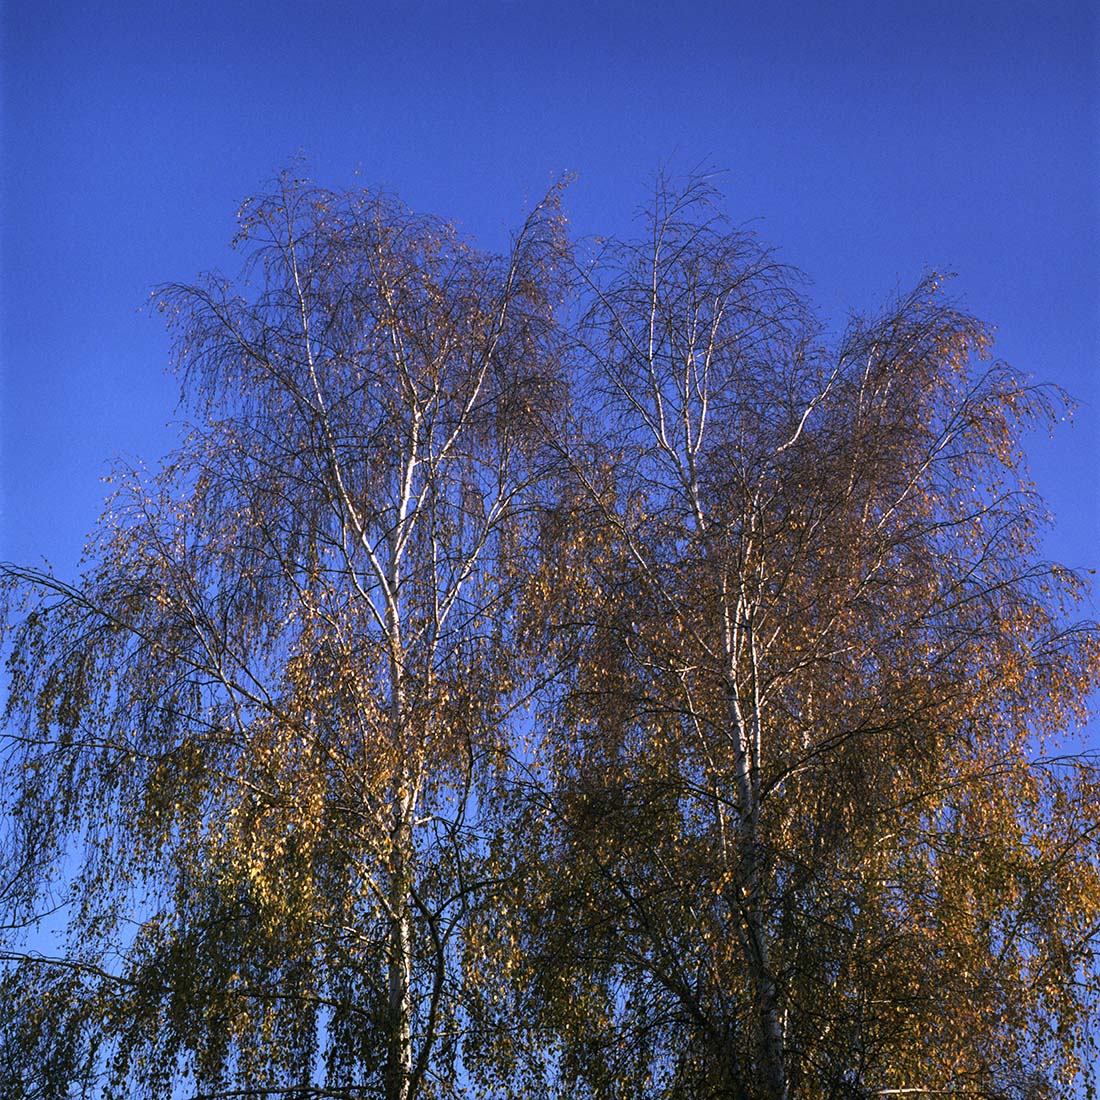 [C580_03_Px67_5m.jpg] This second
test shot of a fairly distant subject turns
out not to be on infinity focus but just
beyond 5 metres, again taken without leaving
the land on which my house stands. Taken
the same day as the previous shot, about half
an hour later.
Fujifilm
PRO400H Pentax 67 100 Macro lens Focus just
beyond 5m on a Pentacon Six 1/250 f/14
Hand-held
With the sun illuminating more of the scene, contrast has improved. This is also another excellent test of coverage, and the lens effortlessly passes the test! |
||||||||||||||||||||||||||
For a further example of a picture taken at infinity focus with this lens on a Pentacon Six, see here. |
||||||||||||||||||||||||||||
Testing closest-focus with the Pentax 67 100mm Macro lens
No, that is not something that we can obtain when using Pentax 67 lenses on a Pentacon Six. However, a lever on this lens and on some other Pentax 67 lenses that I have seen does make it easy to open up the lens aperture temporarily, for instance, to check focus, and then to stop it down again in order to take the photograph. I also used this method to meter via the working aperture, using my normal Pentacon Six TTL metering pentaprism. Dominik Comments: “I am glad you discovered the auto/manual trick. Except for the Soft, the Shift and the 600mm lens in my posession, all lenses have this option and so they can be used like fast-acting preset lenses.” Conclusion Using this Pentax 67 Macro lens is definitely a viable alternative to taking out other macro lenses, bellows and extension tubes that are described elsewhere on this website. It can easily go from infinity to life-size, a characteristic often promised by other manufacturers, but not often delivered. It would also be worth exploring if there are other Pentax 67 lenses that fill gaps in our Pentacon Six outfit (doubtful, I think!). Given the size, weight and cost of Pentax 67 lenses, the Pentacon Six user with a comprehensive outfit may find no need to look to Pentax. However, for the Pentax 67 user with a range of lenses, it is well worth having the option of also using the Pentax lenses on a Pentacon Six, perhaps as a “second body” to a Pentax 67 outfit. Dominik Samol has written with the following additional information on Pentax 6×7 / Pentax 67 lenses:
Thank you, Dominik for the information and advice! |
||||||||||||||||||||||||||||